
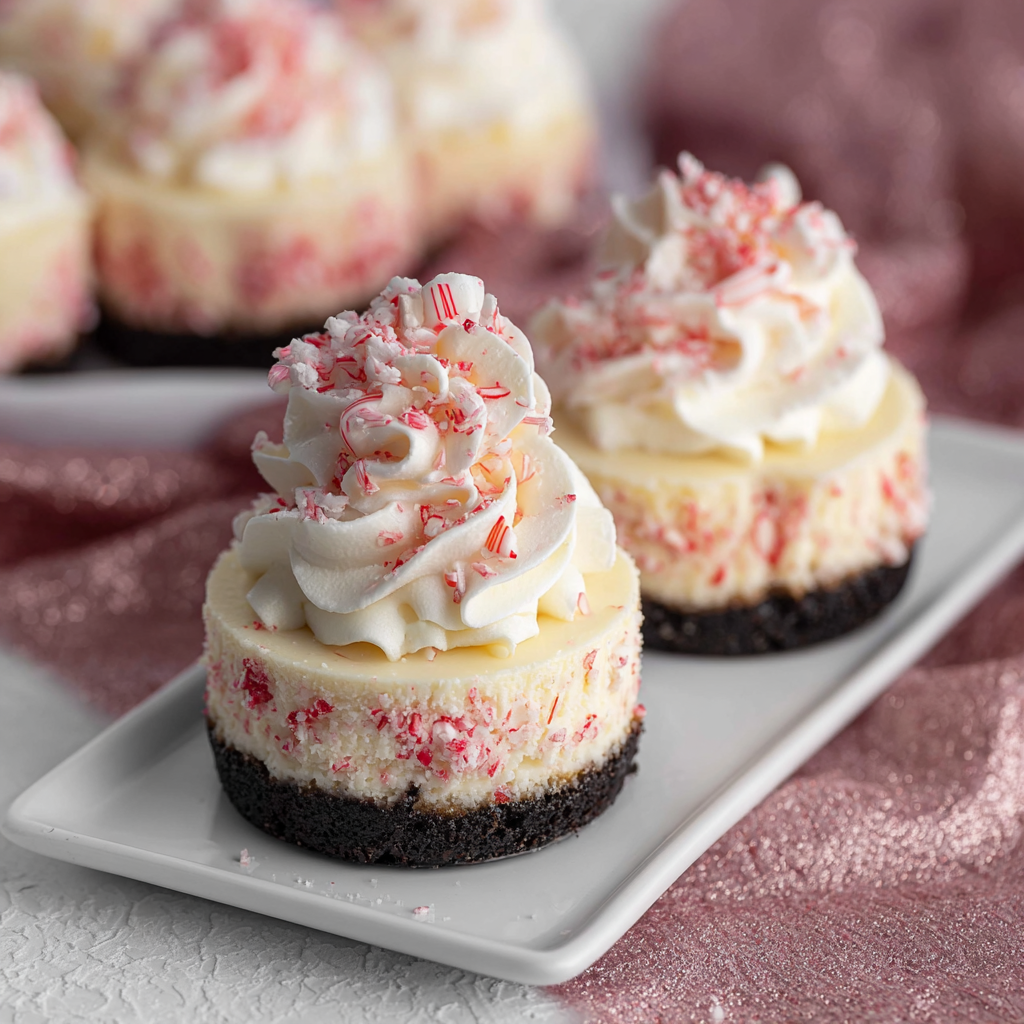
Peppermint Mini Cheesecakes

Creamy no-bake peppermint cheesecakes on an Oreo crust, studded with chopped Andes candies and topped with whipped cream for a festive treat.
Why You'll Love This Recipe
- Ready mostly without baking: assembly takes about 25 minutes and then chilling; no oven time required, perfect for busy hosts or hot kitchens.
- Uses pantry and supermarket staples: Oreos, cream cheese, white chocolate chips, and Andes Peppermint Crunch are easy to find and store well between uses.
- Make-ahead friendly: can be refrigerated for up to 3 days or frozen for longer storage, making it ideal for holiday planning and entertaining.
- Crowd-pleasing texture contrast: crunchy chocolate cookie base paired with silky, mint-kissed filling and chopped Andes pieces for bite-sized bursts of chocolate mint.
- Portable and portion-controlled: assembled in a cupcake tin or individual molds so guests can grab and go — perfect for parties or gifting.
- Customizable sweetness and peppermint intensity: adjust white chocolate and extract to suit your taste or dietary needs.
I introduced these to my potluck group last December and got several requests for the recipe. My cousin swore they tasted like a grown-up version of Christmas candy, and my neighbor loved that they were easy to transport without a cracked top or mess. They consistently disappear first, which tells me they hit the right mix of nostalgia and refinement.
Ingredients
- For the crust (Chocolate cookies): Use 20 Oreo cookies — regular or double-stuffed depending on how chocolate-forward you want the base. Crushed finely, the cookies bind with melted butter to form a fudgy, chewy foundation that contrasts the airy filling. If you prefer a less sweet crust, use original Oreos rather than flavored varieties.
- Unsalted butter: 5 tablespoons, melted. Butter binds the crumbs and chills firm; use unsalted so you control the salt level. If using salted butter, omit any extra pinch of salt elsewhere.
- Heavy whipping cream: 1 cup cold. The cream is whipped to soft peaks to lighten the filling and provide that pillowy texture. Keep it cold until whipping for best volume.
- Cream cheese: Two 8-ounce packages, softened. Full-fat cream cheese gives the best structure and flavor; room-temperature cream cheese blends smoother and prevents lumps in the filling.
- White chocolate chips: 1 1/2 cups. Melted into the cream cheese, the white chocolate gives a sweet, creamy backbone that complements peppermint without being cloying. Use good-quality chips or chopped white chocolate for a cleaner melt.
- Peppermint extract: 1/2 teaspoon. Pure peppermint extract is potent; start with 1/2 teaspoon and taste the filling before adding more — a little goes a long way.
- Andes Peppermint Crunch: 1/2 cup chopped plus extra for topping. These add a crunchy, mint-chocolate surprise in every bite. Reserve some to sprinkle on top for presentation and texture.
- Whipped cream: For topping. Use freshly whipped cream sweetened lightly with powdered sugar, or stabilized whipped topping for longer events.
Instructions
Prepare the crust: Place 20 Oreo cookies in a food processor and pulse until they become fine crumbs. If you don’t have a processor, seal the cookies in a heavy-duty bag and crush them with a rolling pin until uniformly fine. Stir in 5 tablespoons melted unsalted butter until the mixture is evenly moistened. Divide the crumbs among 12 wells of a muffin tin lined with paper cups or a silicone mold and press firmly into an even layer with the back of a spoon. Chill while you make the filling so the crust firms up, about 10 minutes. Melt the white chocolate: Place 1 1/2 cups white chocolate chips in a microwave-safe bowl and heat in 30-second intervals, stirring between each, until completely melted and smooth. Alternatively, use a double boiler over simmering water, stirring constantly to avoid overheating. Let the melted chocolate cool slightly before combining with the cream cheese so it doesn’t melt the cheese or cause separation. Mix the cream cheese base: In a large bowl, beat two 8-ounce packages of softened cream cheese until smooth and light, about 2–3 minutes with a mixer. Beat in the cooled melted white chocolate until uniform. Add 1/2 teaspoon peppermint extract and fold to combine. Taste and adjust peppermint in 1/8 teaspoon increments if desired — peppermint extracts can vary in strength. Whip the cream and fold: Whip 1 cup cold heavy whipping cream to soft peaks with a chilled whisk or whisk attachment. Gently fold the whipped cream into the white chocolate–cream cheese mixture in three additions to preserve air and keep the filling light. Fold in 1/2 cup chopped Andes Peppermint Crunch, reserving some for garnish. Assemble and chill: Spoon or pipe the filling onto the chilled crusts, smoothing the tops with an offset spatula. Cover with plastic wrap and refrigerate at least 4 hours, preferably overnight, until set. For quicker setting, freeze for 30–45 minutes, but use refrigerated chilling for the best texture.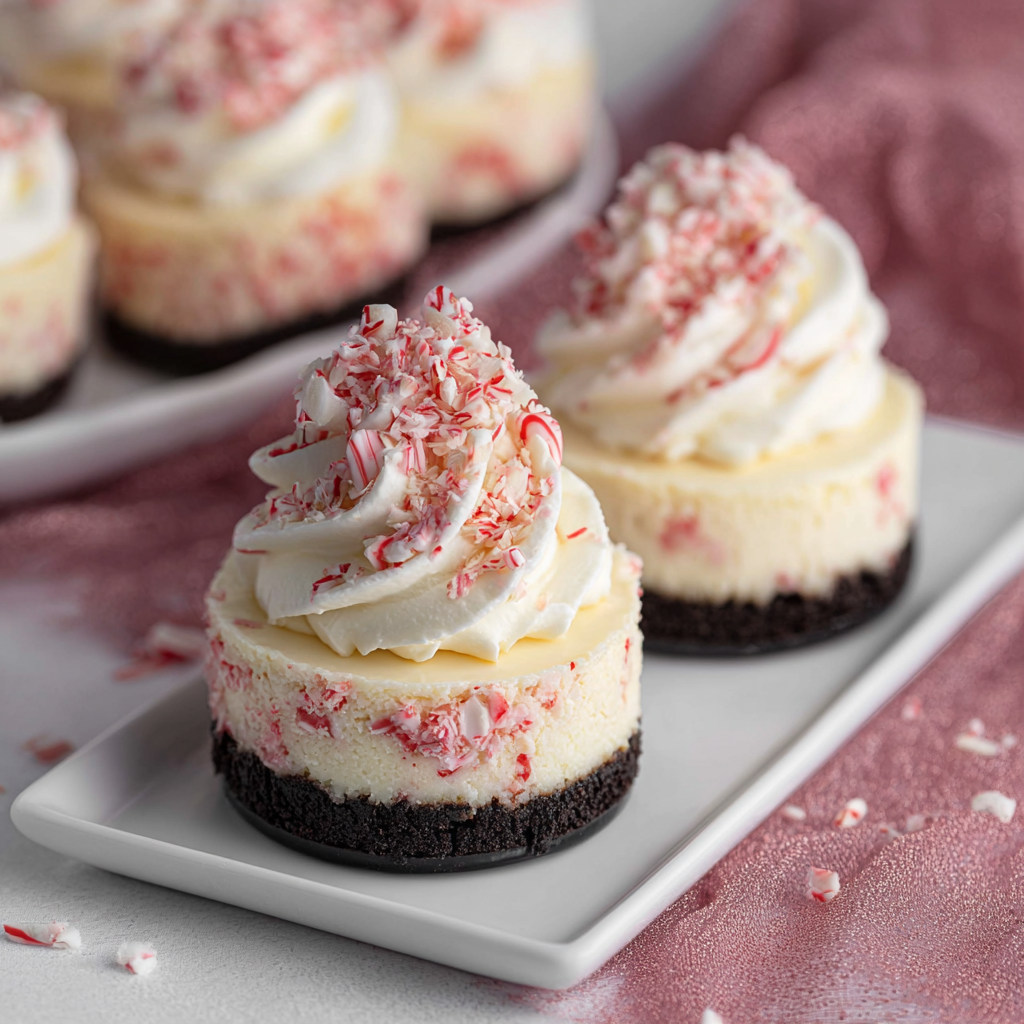
You Must Know
- Storage: These keep well refrigerated for up to 3 days in an airtight container; freeze for up to 2 months (thaw overnight in the fridge before serving).
- Allergy note: Contains dairy and gluten from cream cheese, heavy cream, white chocolate, and Oreo cookies; not suitable for dairy-free or gluten-free diets unless adapted.
- Texture: Chilling time is essential — under-chilling yields a soft filling that can slump off the crust.
- Flavor balance: White chocolate reduces the intensity of peppermint; if you prefer a sharper mint, add an extra 1/8 teaspoon of extract or swirl in a teaspoon of crushed candy cane.
- Portions: This version makes about 12 mini cheesecakes; scale up easily for larger gatherings.
What I love most about these is how adaptable they are. For casual potlucks I’ll keep them in the paper liners for easy handing; for dinner parties I’ll plate each with a dollop of whipped cream and a sprig of fresh mint. The crunch of Andes pieces inside gives a delightful contrast every time — a small detail that guests always comment on.
Storage Tips
Refrigerate in a single layer in an airtight container for up to 3 days. If stacking is necessary, place parchment or wax paper between layers to protect the tops and maintain presentation. For longer storage, freeze the un-topped cheesecakes on a sheet until firm, then transfer to a freezer-safe container with parchment between layers; they will keep for up to 2 months. Thaw in the refrigerator for several hours or overnight before garnishing. To re-crisp the crust slightly after thawing, allow to sit at room temperature for 20–30 minutes before serving.

Ingredient Substitutions
If you need to alter ingredients, start with the big three: cookie base, chocolate, and mint. For a gluten-free base, use certified gluten-free chocolate sandwich cookies or a mixture of gluten-free graham crumbs and cocoa. Swap white chocolate chips for white chocolate baking bars for a cleaner taste — finely chop and melt for a smoother emulsion. For a lighter filling, substitute half the cream cheese with mascarpone; note the texture will be silkier and slightly looser, so longer chilling helps. If you prefer a less sweet profile, reduce the white chocolate by 1/4 cup and increase cream slightly to maintain volume.
Serving Suggestions
Serve chilled on a platter with a dusting of finely crushed Andes pieces and a small dollop of lightly sweetened whipped cream. For a festive touch, add a mini candy cane or a sprig of fresh mint. These are lovely alongside hot beverages like espresso or cocoa, and they pair well with a simple fruit plate of berries to cut through the richness. For an adult twist, drizzle a teaspoon of peppermint liqueur mixed with melted chocolate over the top just before serving.
Cultural Background
Miniature chilled cheesecakes are an American holiday favorite, combining classic cheesecake techniques with no-bake convenience. The addition of peppermint and Andes pieces evokes seasonal confections popular in North America, where mint-chocolate combinations are a staple of winter holidays. Oreo-based crusts became popular in the late 20th century as an accessible alternative to graham cracker crusts, offering a chocolatey base that pairs especially well with mint and white chocolate.
Seasonal Adaptations
Spring and summer versions benefit from fresh mint leaves folded into the filling and a lighter chocolate base; swap the peppermint extract for vanilla and fold in summer berries for a non-mint option. For winter holidays keep the peppermint and add a pinch of cinnamon to the crust for warmth. Miniature versions are perfect for cookie exchanges, while a single 9-inch assembled version can be made by increasing quantities and chilling in a springform pan.
Meal Prep Tips
Make the crust and filling a day ahead to save time; store separately and assemble the day of for the freshest top appearance. For large batches, prepare the filling in two bowls and fold whipped cream into each to avoid overworking the mixture. Transport in a cooler with ice packs for outdoor events. If you're hosting, pipe the filling into the crusts for neat, uniform tops that look professionally finished without extra effort.
These peppermint mini cheesecakes are a simple, elegant way to end a meal or bring joy to a gathering; their ease and adaptability make them a trusty addition to any cook’s repertoire. Try the variations and make the peppermint level your own — you’ll find this small indulgence becomes a repeat favorite at your table.
Pro Tips
Keep the heavy cream and mixing bowl chilled so the whipped cream reaches soft peaks more quickly and holds structure.
Allow melted white chocolate to cool slightly before adding to cream cheese to prevent a grainy texture or separation.
Taste and add peppermint extract in small increments — 1/8 teaspoon changes the profile significantly.
Press crusts firmly and chill before adding filling to prevent soggy bottoms.
If using a stand mixer, stop and scrape the bowl often to ensure even mixing and avoid overbeating the whipped cream.
This nourishing peppermint mini cheesecakes recipe is sure to be a staple in your kitchen. Enjoy every moist, high protein slice — it is perfect for breakfast or as a wholesome snack any time.
Tags
Peppermint Mini Cheesecakes
This Peppermint Mini Cheesecakes recipe makes perfectly juicy, tender, and flavorful steak every time! Serve with potatoes and a side salad for an unforgettable dinner in under 30 minutes.
Ingredients
Crust
Filling
Instructions
Make the crust
Crush 20 Oreo cookies to fine crumbs and mix with 5 tablespoons melted unsalted butter. Press into 12 muffin wells lined with paper cups or silicone molds and chill for 10 minutes to firm.
Melt the white chocolate
Melt 1 1/2 cups white chocolate chips in 30-second microwave bursts, stirring between each, until smooth. Cool slightly to avoid melting the cream cheese when combined.
Blend the cream cheese base
Beat 16 ounces softened cream cheese until smooth, then beat in cooled melted white chocolate and 1/2 teaspoon peppermint extract until uniform. Adjust peppermint in small increments to taste.
Whip and fold
Whip 1 cup cold heavy cream to soft peaks and fold into the cream cheese mixture in three additions to keep the filling light. Fold in 1/2 cup chopped Andes pieces, reserving some for topping.
Assemble and chill
Spoon or pipe filling onto chilled crusts, smooth tops, cover, and refrigerate at least 4 hours or overnight until set. Garnish with whipped cream and extra chopped Andes before serving.
Last Step: Please leave a rating and comment letting us know how you liked this recipe! This helps our business to thrive and continue providing free, high-quality recipes for you.
Nutrition
Did You Make This?
Leave a comment & rating below or tag
@feedcooks on social media!
Categories:
You might also like...

Air Fryer Bang Bang Cauliflower
Crispy air-fried cauliflower tossed in a creamy, sweet-spicy bang bang sauce. A crowd-pleasing appetizer or vegetarian main that's quick, crunchy, and addictive.

Air Fryer Buffalo Cauliflower
Crispy, tangy buffalo cauliflower made in the air fryer for a fast, crowd-pleasing appetizer or snack ready in under 30 minutes.

Air Fryer Honey Butter Garlic Chicken
Crispy air-fried chicken pieces tossed in a glossy honey-butter garlic glaze — a 20-minute weeknight favorite that's sweet, savory, and irresistibly sticky.
Did You Make This?
Leave a comment & rating below or tag @feedcooks on social media!
Rate This Recipe
Share This Recipe
Enjoyed this recipe? Share it with friends and family, and don't forget to leave a review!
Comments (1)
This recipe looks amazing! Can't wait to try it.
Comments are stored locally in your browser. Server comments are displayed alongside your local comments.
Hi, I'm Lena!
What's Popular
Get My 30-Minute Meals email series!
Quick and easy dinner ideas delivered to your inbox.