
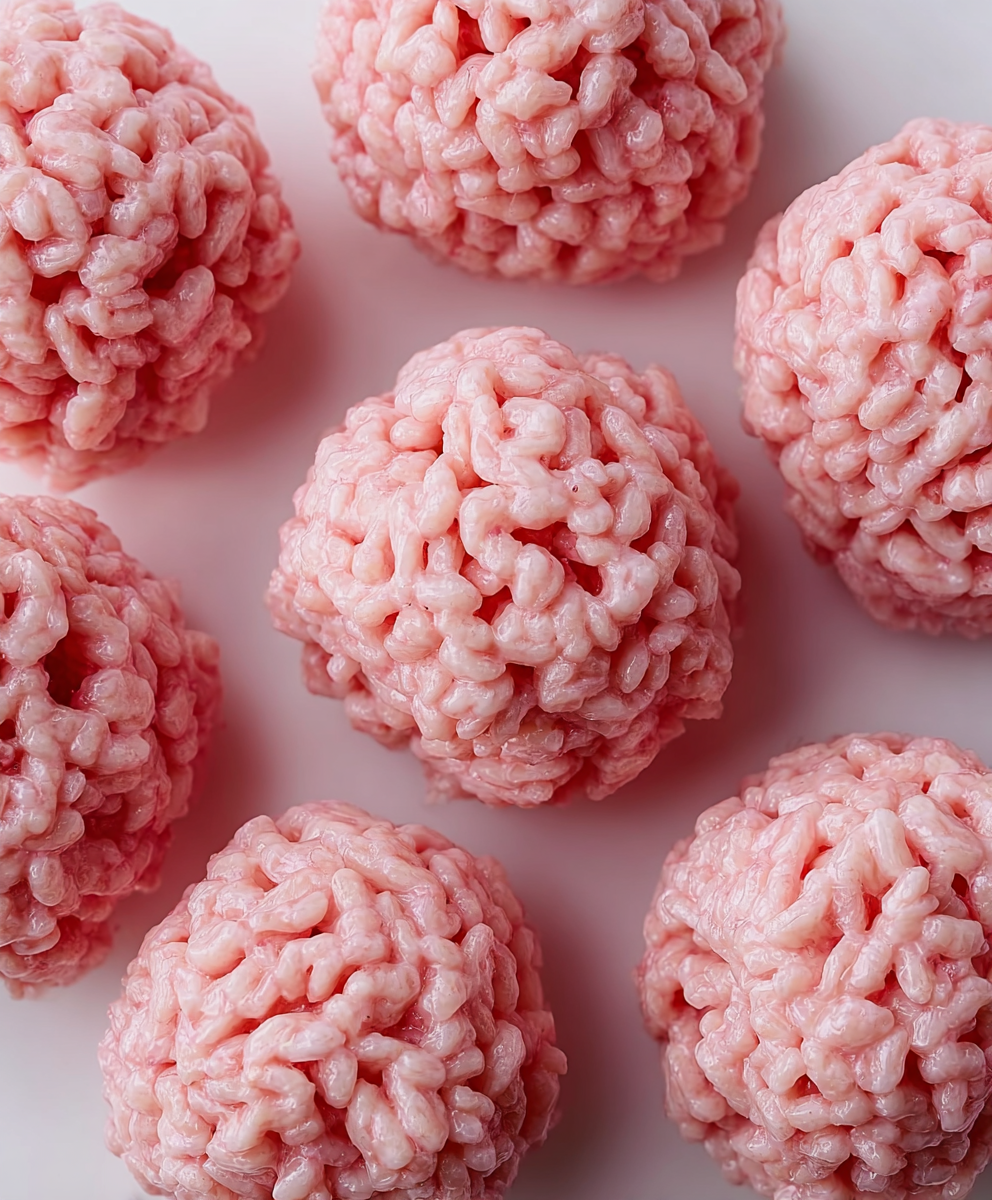
Marshmallow Rice Krispies Halloween Brains

Turn classic crispy treats into creepily realistic Halloween brains—soft, glossy marshmallow centers bound to Rice Krispies, shaped and painted for maximum spooky impact.

Why You'll Love This Recipe
- Makes a dramatic Halloween centerpiece that looks far more challenging than it is—perfect for last-minute party prep and great with children helping the shaping stage.
- Ready in about 20 minutes of active time using pantry staples: butter, marshmallows, Rice Krispies, salt, and food coloring.
- Requires no oven and minimal equipment—just a saucepan, heatproof bowl, and a few simple tools, so cleanup is quick and straightforward.
- Highly adaptable: reduce sweetness by using fewer marshmallows, or make smaller bite-sized brains for trick-or-treaters.
- Make-ahead friendly: can be formed, wrapped, and frozen for up to 1 month or stored in an airtight container for 2–3 days.
- Kid-friendly decorating: simple toothpick detailing creates realistic veins; older kids can help paint to match your desired horror level.
In my experience these treats disappear fast at parties—neighbors asked for the recipe the same night. The combination of the smooth, glossy marshmallow and the crunchy cereal somehow makes people nostalgic and a little gleefully grossed out, which is the perfect reaction for a Halloween treat. My family now expects them every October; I usually double the batch so everyone can take one home.
Ingredients
- Unsalted butter (6 tbsp): Use real unsalted butter for a clean, rich base—brands like Land O Lakes or KerryGold give the mixture a pleasantly creamy mouthfeel and help the marshmallow melt into a glossy binder.
- Regular marshmallows (6 cups): Standard-size marshmallows (not mini) are easiest to measure and melt; use classic jet-puffed style for consistent texture and sweetness.
- Rice Krispies cereal (4 cups): The original toasted rice cereal provides the right crunch and structure—avoid puffed rice blends that are too airy or chocolate-coated varieties.
- Salt (1/2 tsp): A small pinch of salt brightens the sweetness and rounds the flavor; measured precisely, it keeps the candies from tasting cloying.
- Red food coloring (as needed): Gel food coloring gives the most vibrant color with less liquid; 2–3 drops will tint the marshmallow pink, more creates deeper red and maroon tones for the brain veins.
Instructions
Bring water to a gentle boil and set up a bain-marie: Pour 1/2 cup water into a medium saucepan and bring to a gentle boil over medium heat. Reduce to a simmer and place a heatproof bowl on top, ensuring the bottom of the bowl does not touch the water—this indirect heat prevents scorching the marshmallows. A stainless-steel or glass mixing bowl works best to monitor the melt. Simmering steam should be steady but not violent to maintain gentle, even heat (about a low simmer at 180–190°F if you use an instant-read thermometer). Melt butter and marshmallows until glossy: Add the 6 tablespoons of butter to the bowl and let it melt, swirling the bowl occasionally. Add the 6 cups of marshmallows and stir continuously with a heatproof spatula or whisk. The marshmallows will begin to collapse and become glossy; keep stirring until you have a smooth, uniform mixture with no visible sugar crystals. This typically takes 4–6 minutes. Avoid overheating—if the mixture gets grainy, remove from heat and stir off the residual warmth to smooth it out. Season and tint the mixture: Remove the bowl from the bain-marie and quickly whisk in 1/2 teaspoon salt. Add 2–3 drops of red gel food coloring, stirring until the color is evenly distributed. For deeper, blood-red veins later, tint just enough to give a pale pink base—additional coloring will be added with a toothpick at the end. Work briskly: the marshmallow will begin to set as it cools, so you want to combine with the cereal while still fluid. Combine with cereal and shape: Pour the 4 cups of Rice Krispies into a large mixing bowl. Immediately pour the marshmallow mixture over the cereal and use a rubber spatula to fold until evenly coated. Lightly oil your hands with a neutral oil (vegetable or canola) and scoop portion-sized amounts, pressing and tucking to form oval, brain-like shapes—about the size of a small palm. Smooth the surface so the carving step yields the best details. Carve grooves and add veins: Using a butter knife, gently carve a groove down the center of each oval to mimic the longitudinal fissure. To add veins, dip a toothpick into concentrated red gel food coloring and draw fine, branching lines across the surface; vary pressure to thicken certain lines. Let the shaped treats rest on parchment until firm, about 20–30 minutes. If you need the colors darker, add tiny dabs of gel and drag outward with the toothpick for a realistic effect.
You Must Know
- These treats are best eaten within 24–48 hours at room temperature; beyond that they can dry out—store airtight to preserve chewiness.
- They freeze well: wrap individually in plastic and place in a freezer-safe bag for up to 1 month; thaw at room temperature before serving.
- Contains dairy and gelatin (from regular marshmallows), and original Rice Krispies may contain gluten—check packaging for certified gluten-free if needed.
- Texture control is crucial: melt marshmallows gently and shape while warm for smooth surfaces and crisp carve lines.
- Use gel food coloring for vibrant veins without adding excess liquid, which could change texture.
My favorite aspect of these treats is how forgiving they are—slightly under- or over-pressed shapes still look convincing once you carve and paint veins. At my last party, guests were impressed at how realistic they looked, and parents appreciated that the ingredients are recognizable pantry staples. The process is half culinary, half craft, and that combination makes it a fun hands-on activity for helpers of almost any age.
Storage Tips
Store finished pieces in an airtight container at room temperature for up to 48 hours; adding a single sheet of parchment between layers prevents sticking. For longer storage, individually wrap each piece in plastic wrap and place inside a freezer bag—treats will keep well for up to 1 month. To thaw, remove from freezer and let sit at room temperature for 30–60 minutes. Avoid refrigeration as the cold can make them too firm and change the texture of the marshmallow binder. When packing for a party, use a flat container and line the bottom with parchment for safe transport.
Ingredient Substitutions
If you need to adjust ingredients for dietary reasons, there are simple swaps: use dairy-free butter alternative to reduce dairy content, though texture may be slightly less rich. For a vegan version, replace marshmallows with vegan marshmallows (which use plant-based gelling agents) and confirm your cereal is vegan-certified—this yields a similar texture but check flavors as some vegan marshmallows vary in sweetness. If you want a less sweet result, reduce marshmallow quantity by 1/2 cup and add 1–2 tbsp of golden corn syrup to maintain binding. For gluten-free, use gluten-free crispy rice cereal; taste and mouthfeel will be nearly identical.
Serving Suggestions
Display on a platter lined with wax paper and scatter edible candy eyeballs or crushed graham crackers dyed with cocoa for a macabre backdrop. Serve alongside black coffee or a tangy fruit punch to cut the sweetness. For a buffet, pair with small labels like 'Fresh Brains' and group different sizes together for visual interest. Garnish with a dusting of powdered sugar lightly mixed with edible red dust to create an oozing effect. These also work well as party favors wrapped in clear cellophane with a ribbon for guests to take home.
Cultural Background
These treats borrow from the classic American cereal-candy tradition of no-bake bars, especially the beloved rice-cereal and marshmallow combination that gained popularity in mid-20th-century home cooking. Turning them into playful shapes follows a long tradition of festive food decoration in American holiday culture—think shaped cookies or molded gelatin salads. Halloween in the United States emphasizes novelty and themed foods; transforming a nostalgic staple into a spooky form taps into both childhood memories and modern party theatrics, creating an approachable but show-stopping contribution to seasonal gatherings.
Seasonal Adaptations
Adjust colors and accents for other holidays: use green and orange food coloring for fall harvest treats, or pastel dyes for Easter-shaped versions. For colder months, add a teaspoon of pumpkin spice or cinnamon to the melted marshmallow for autumnal warmth. For a winter twist, stir in crushed peppermint candy before shaping and decorate with white chocolate 'frost' lines. The technique scales well—make mini versions for bite-sized party offerings or large brain molds for a centerpiece scalloped with decorative icing.
Meal Prep Tips
For efficient prep, melt marshmallows in two batches if you’re making a double batch—this prevents the mixture from setting before you combine with cereal. Portion scoops on a parchment-lined tray and shape quickly before the mixture cools too much. Label and stack in airtight containers with parchment between layers to maintain finish. When reheating slightly stale treats, a 3–5 second zap in the microwave can revive softness—test one to avoid overheating. For school parties, assemble a decorating station with pre-shaped brains and edible decorating gels to let kids personalize their treats.
These marshmallow Rice Krispies Halloween brains are equal parts nostalgic snack and party theatre: quick to make, endlessly customizable, and always a conversation starter. Try shaping a few practice pieces to get comfortable with carving and veining, and then have fun turning the rest into your own spooky creations. Happy haunting—and even happier snacking!
Pro Tips
Oil your hands lightly before shaping to prevent sticking and create smooth surfaces for carving.
Use gel food coloring for vibrant veins without adding extra liquid to the marshmallow binder.
Work quickly while the marshmallow mixture is warm; it becomes harder to shape as it cools.
Shape on parchment paper and allow to fully set at room temperature for 20–30 minutes before decorating.
If the marshmallow mix becomes grainy, remove from heat and stir off residual heat until smooth.
This nourishing marshmallow rice krispies halloween brains recipe is sure to be a staple in your kitchen. Enjoy every moist, high protein slice — it is perfect for breakfast or as a wholesome snack any time.
Tags
Marshmallow Rice Krispies Halloween Brains
This Marshmallow Rice Krispies Halloween Brains recipe makes perfectly juicy, tender, and flavorful steak every time! Serve with potatoes and a side salad for an unforgettable dinner in under 30 minutes.
Ingredients
Main Ingredients
Instructions
Prepare bain-marie
Pour 1/2 cup water into a medium saucepan and bring to a gentle boil. Reduce to a low simmer and set a heatproof bowl over the pan, ensuring the bottom of the bowl does not touch the water to prevent scorching.
Melt butter and marshmallows
Place 6 tbsp unsalted butter in the bowl to melt, then add 6 cups regular marshmallows. Stir continuously with a spatula or whisk until the mixture is smooth and glossy, about 4–6 minutes; avoid overheating.
Season and color
Remove the bowl from heat and whisk in 1/2 tsp salt. Add 2–3 drops of red gel food coloring and stir until evenly tinted. Adjust intensity sparingly to avoid altering texture.
Mix with cereal and shape
Pour 4 cups Rice Krispies into a large bowl, add the marshmallow mixture, and fold to coat. Oil your hands lightly and form oval brain shapes, pressing to compact while leaving the surface smooth for carving.
Carve and decorate veins
Use a butter knife to carve a central groove and define lobes. Dip a toothpick in red gel food coloring and draw thin, branching veins for a realistic effect. Let set on parchment for 20–30 minutes.
Last Step: Please leave a rating and comment letting us know how you liked this recipe! This helps our business to thrive and continue providing free, high-quality recipes for you.
Nutrition
Did You Make This?
Leave a comment & rating below or tag
@feedcooks on social media!
Categories:
You might also like...
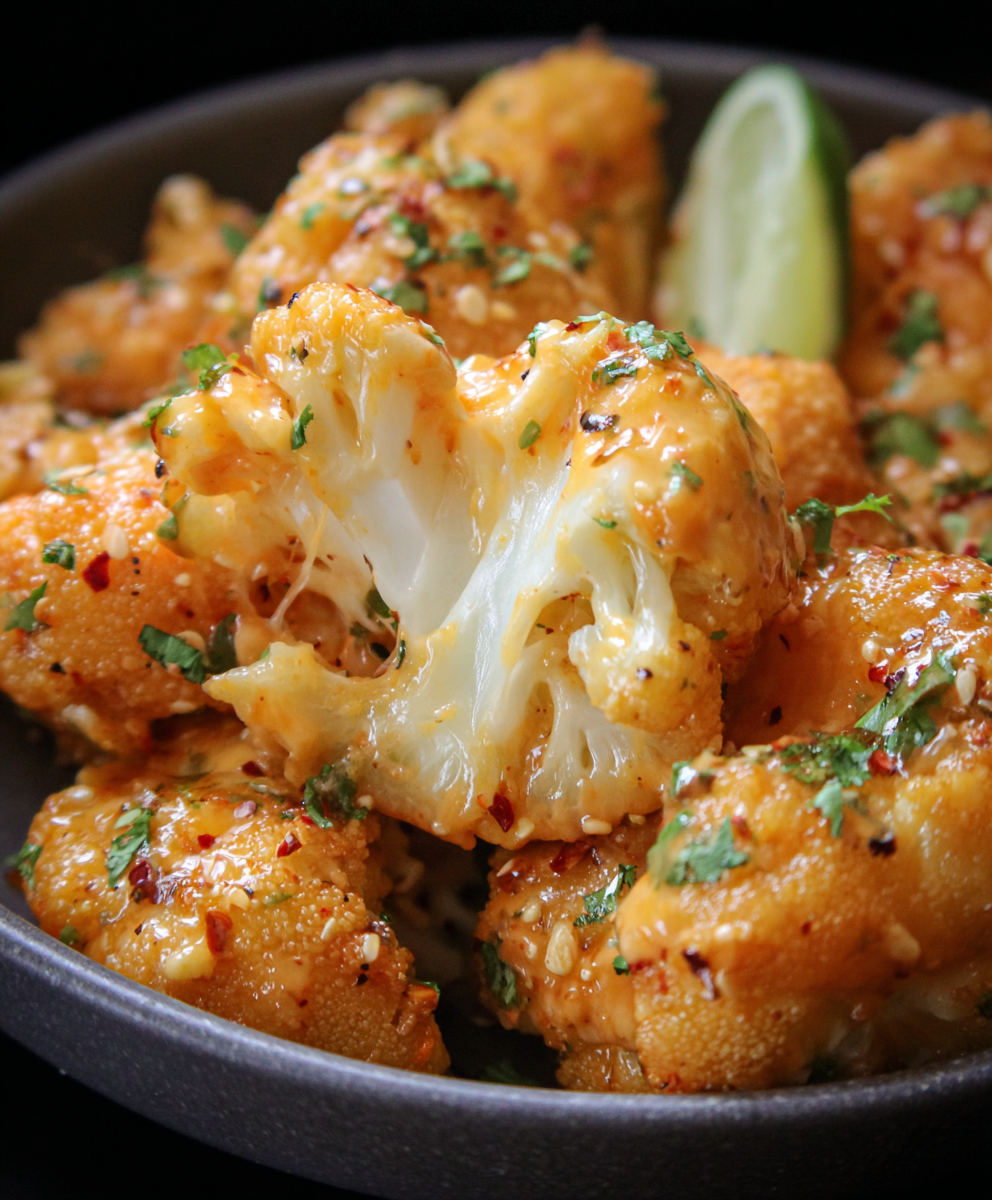
Air Fryer Bang Bang Cauliflower
Crispy air-fried cauliflower tossed in a creamy, sweet-spicy bang bang sauce. A crowd-pleasing appetizer or vegetarian main that's quick, crunchy, and addictive.

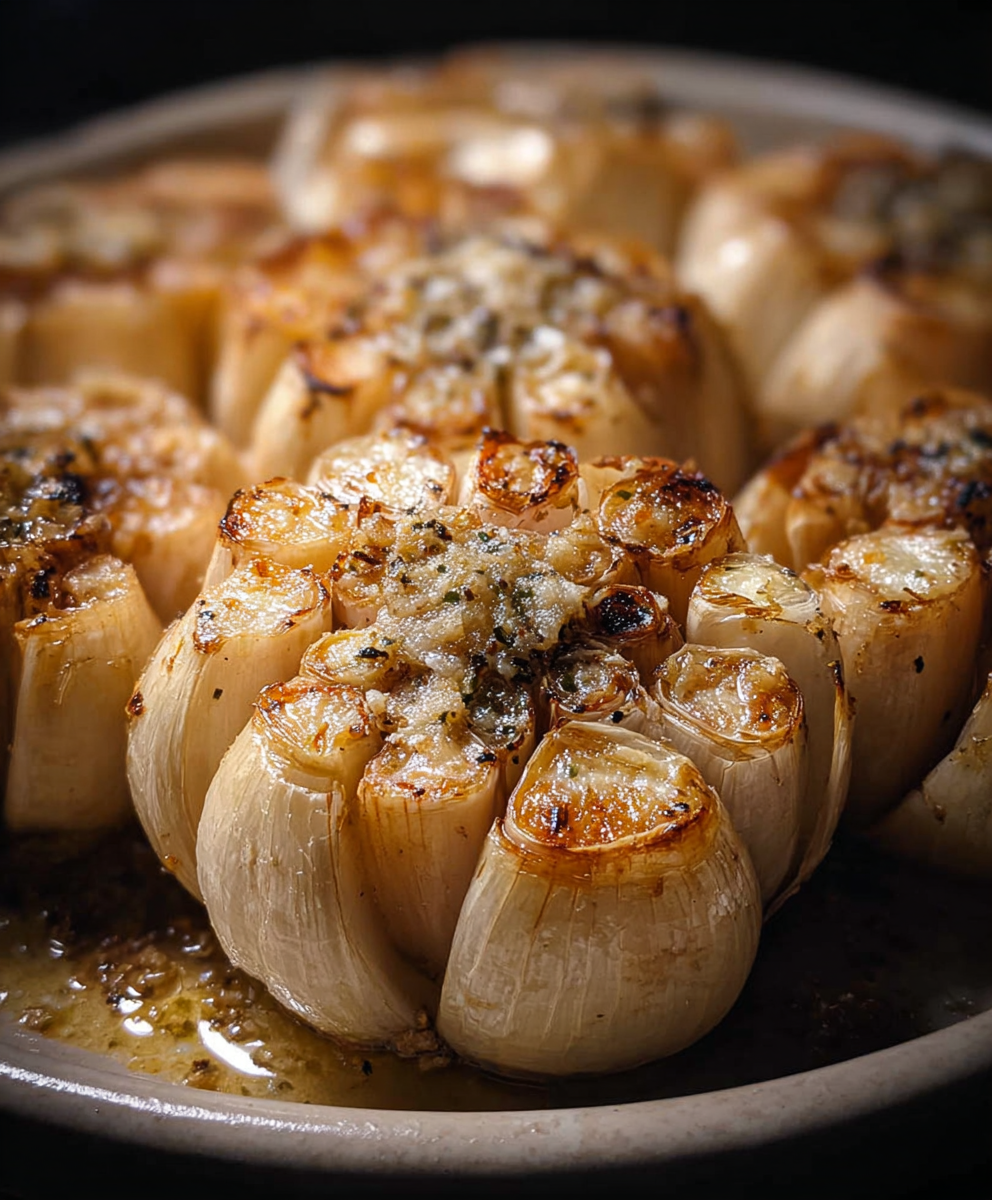
Air Fryer Buffalo Cauliflower
Crispy, tangy buffalo cauliflower made in the air fryer for a fast, crowd-pleasing appetizer or snack ready in under 30 minutes.
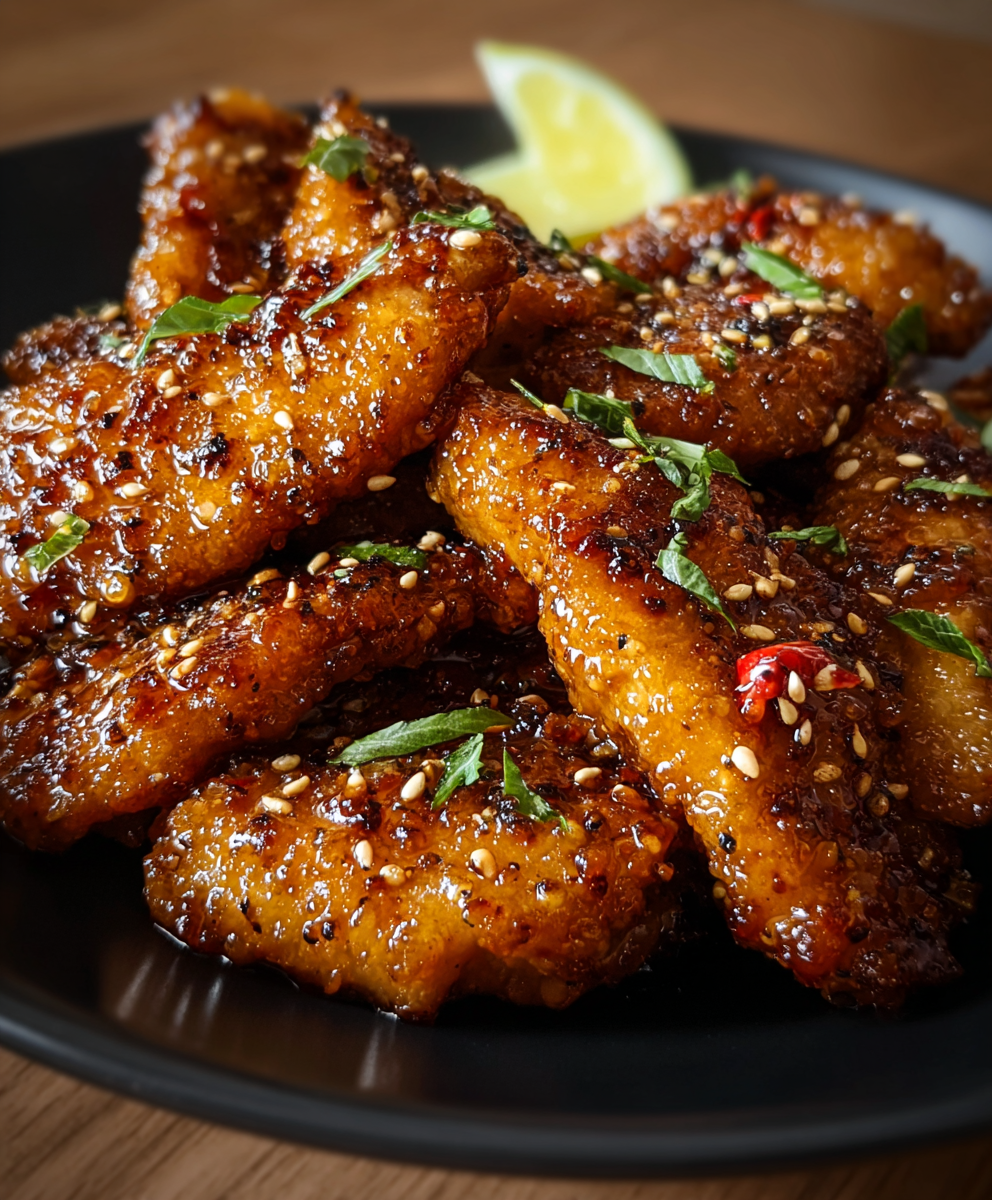
Air Fryer Honey Butter Garlic Chicken
Crispy air-fried chicken pieces tossed in a glossy honey-butter garlic glaze — a 20-minute weeknight favorite that's sweet, savory, and irresistibly sticky.
Did You Make This?
Leave a comment & rating below or tag @feedcooks on social media!
Rate This Recipe
Share This Recipe
Enjoyed this recipe? Share it with friends and family, and don't forget to leave a review!
Comments (1)
This recipe looks amazing! Can't wait to try it.
Comments are stored locally in your browser. Server comments are displayed alongside your local comments.
Hi, I'm Lena!
What's Popular
Get My 30-Minute Meals email series!
Quick and easy dinner ideas delivered to your inbox.