
Cherry Rice Krispie Treats

A nostalgic twist on a classic: Rice Krispie squares infused with cherry gelatin and finished with a rich dark chocolate topping. Easy, colorful, and irresistible.
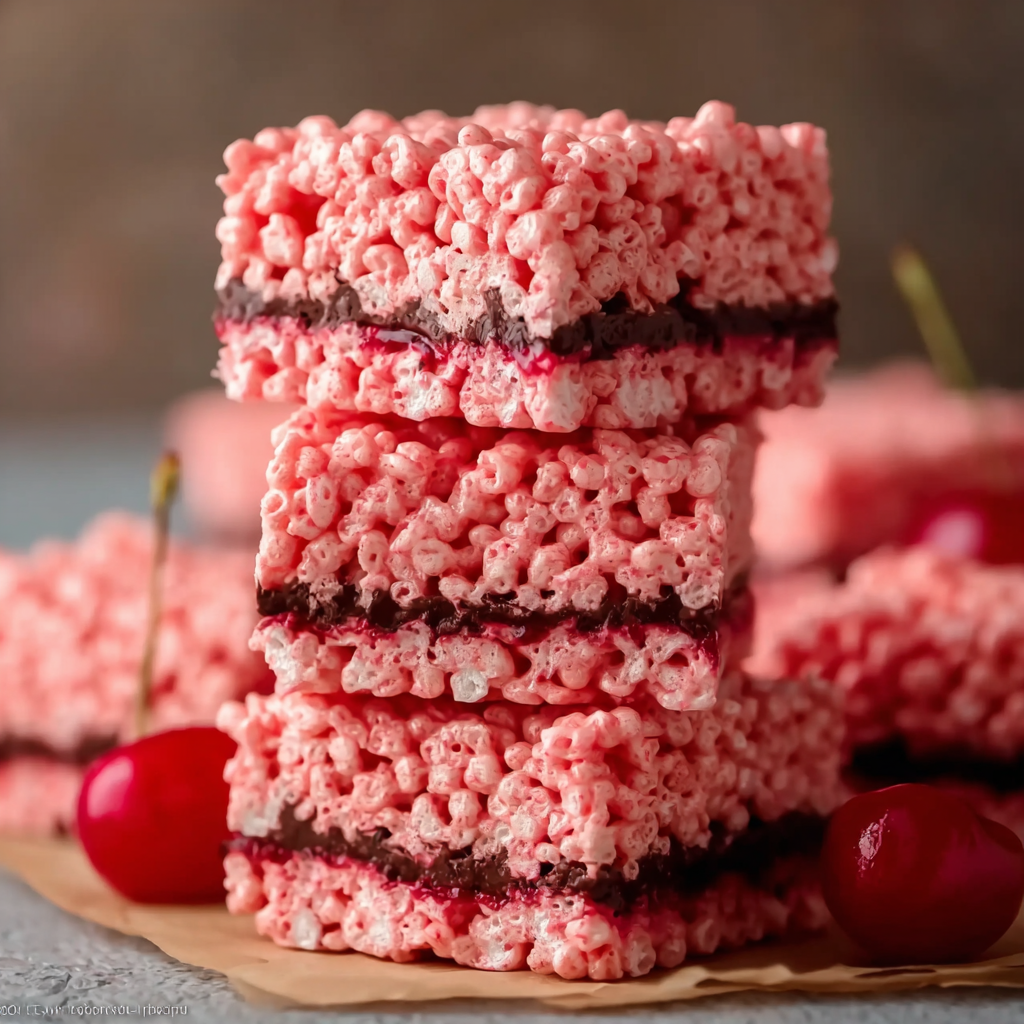
This Cherry Rice Krispie creation began as a playful experiment on a rainy afternoon when I wanted a dessert that felt like childhood nostalgia but tasted a little more grown-up. I discovered this combination while rummaging through the pantry for something bright and cheery; a box of cherry gelatin powder caught my eye. Mixing that vivid cherry flavor into the marshmallow base transformed the simple cereal bar into a party-ready treat with a delicate pink hue and a sweet-tart note that keeps you coming back for more. Every bite pairs the airy crunch of Rice Krispies with creamy marshmallow chew and the glossy bitterness of dark chocolate on top.
I first served these at a summer potluck and watched them disappear faster than I expected. The cherry flavor makes them feel seasonal—perfect for picnics, birthdays, or an easy holiday dessert—but they are just as welcome on a midweek afternoon when kids want something fun. I love how the gelatin brightens the flavor without making the texture gummy; it melts smoothly into the marshmallow mixture and gives a subtle fruitiness rather than an overpowering artificial taste. This version uses high-quality dark chocolate wafers for contrast and stability; they set into a firm shell that keeps the pieces tidy and handsome on a dessert plate.
Why You'll Love This Recipe
- Bright cherry flavor added to a classic snack makes these squares stand out at gatherings while still being quick to prepare.
- Ready in about 20 minutes of active time with a passive setting period of roughly 60 minutes—perfect for last-minute dessert needs.
- Uses pantry-friendly staples: cereal, marshmallows, butter, gelatin powder, and chocolate wafers—easy to source in most supermarkets.
- Make-ahead friendly: assemble early in the day and let them set; they store well and travel easily in a covered container.
- Customizable: swap the chocolate for white chocolate, add sprinkles for a festive look, or press in nuts for crunch—great for dietary tweaks.
- Crowd-pleaser for kids and adults alike—nostalgic texture with an adult-friendly dark chocolate finish.
My family’s reaction was immediate: the kids loved the color and chewy texture, while grown-ups appreciated the dark chocolate balance. At our potluck someone asked for the recipe on the spot; since then it has become my go-to when I want a dessert that looks special but requires minimal technique. I often double the batch for larger gatherings because they vanish fast.
Ingredients
- Rice Krispies cereal (6 cups): Use the original Rice Krispies for best texture—measured by cup to keep the cereal airy. Avoid extra-large crisped rice varieties to maintain classic bite. Purchasing a full-size family box yields the needed volume.
- Ghirardelli dark chocolate melting wafers (10 ounces): Wafers melt evenly and set with a glossy finish; Ghirardelli is a reliable brand for depth of flavor. If you prefer sweeter bars, white or milk chocolate wafers can be used instead.
- Unsalted butter (6 tablespoons): Melts into the marshmallow for a silkier mouthfeel. Use real butter rather than margarine for flavor stability when combined with chocolate.
- Mini marshmallows (16 ounces): Mini pieces melt faster and distribute evenly. If you only have regular-size marshmallows, cut them into smaller pieces or use 1 large bag to equal the 16 ounces.
- Cherry gelatin powder (1 1/2 tablespoons): Use standard JELL-O cherry gelatin (not the sugar-free version) to impart color and a subtle tart-sweet cherry note; the powder blends into the melted marshmallow without altering texture.
- Sprinkles (optional): For decorative flair—choose nonpareils or jimmies that won’t bleed color into the bars. Add immediately after the chocolate is spread for the best adhesion.
Instructions
Prepare the pan: Butter a 13x9-inch baking dish (for standard thickness) or a 9-inch square pan (for thicker bars). Line the pan with a sheet of wax paper or parchment if you prefer easier removal. A thin coating of butter on the paper will prevent sticking and keep edges neat. Melt butter and marshmallows: In a large, heavy-bottom saucepan over low heat, melt the 6 tablespoons of butter. Add the 16 ounces of mini marshmallows and stir continuously with a heatproof spatula until they are completely melted and the mixture is smooth—about 3 to 5 minutes. Keep the heat low to avoid scorching; visual cues are a glossy, homogeneous liquid without lumps. Incorporate cherry gelatin: Sprinkle 1 1/2 tablespoons of cherry gelatin powder into the melted marshmallow and butter, stirring until it dissolves fully and the mixture takes on a faint pink tint and cherry aroma. The gelatin disperses quickly in the warm marshmallow; if small specks remain, continue stirring off heat until smooth. Fold in cereal: Remove the pan from heat and gently fold in 6 cups of Rice Krispies using the spatula until evenly coated. Work relatively quickly so the marshmallow doesn’t firm up; visual cues are even distribution of cereal with no dry pockets and a slightly glossy sheen on the cereal. Press into pan: Transfer the mixture to the prepared pan. Using a buttered piece of wax paper or a greased spatula, press the mixture evenly into the pan—avoid compressing too hard, which will make the bars dense. For neat edges, press the mixture firmly only once, then use the parchment overhang to lift the set slab later. Top with chocolate: In a small, microwave-safe bowl or double boiler, melt the 10 ounces of dark chocolate wafers until smooth—if microwaving, heat in 20-second bursts, stirring between bursts to prevent overheating. Spread the melted chocolate evenly across the top of the cereal mixture. If adding sprinkles, do so immediately while the chocolate is still wet. Set and slice: Let the bars set at room temperature for about one hour until the chocolate is firm and the cereal slab is completely cool. For faster setting, refrigerate for 20 to 30 minutes. Lift the slab from the pan using the parchment or slide it out and cut into squares with a sharp knife. Store in a covered container at room temperature for up to three days or refrigerate for longer life.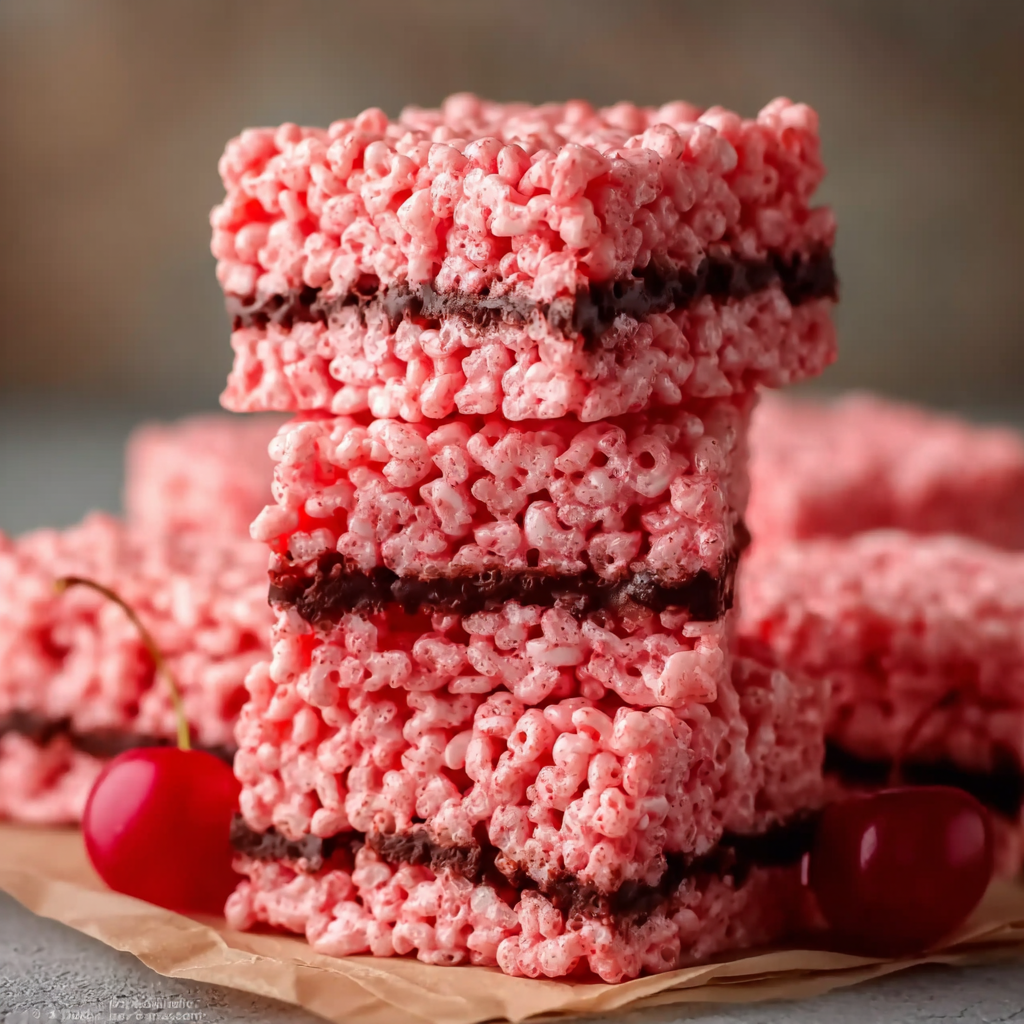
You Must Know
- These bars are best eaten within 2–3 days at room temperature; they retain crispness and the chocolate remains glossy.
- They freeze well for up to 3 months—wrap individual squares in plastic, then store in an airtight container to prevent freezer burn.
- Mini marshmallows melt quicker and produce a more uniform texture; if substituting, allow extra stirring time to dissolve regular marshmallows completely.
- Using dark chocolate (about 60–70% cocoa) balances the sweetness and provides a pleasant contrast to the cherry and marshmallow flavors.
What I love most about this version is how the cherry flavor lifts the otherwise sweet-and-simple square into something that feels deliberate and festive. I’ve taken these to school parties, backyard BBQs, and evening gatherings; people often comment on the pretty color under the chocolate and ask how I got such a clean, even top. A small trick: melting the chocolate slowly and spreading it while still fluid gives the neatest finish.
Storage Tips
Store cooled squares in a single layer in an airtight container, separating layers with parchment paper to prevent sticking. At room temperature they keep well for 2 to 3 days; for longer storage refrigerate up to one week. To freeze, wrap individual squares tightly in plastic wrap, then place in a freezer-safe container or resealable bag for up to three months. Thaw at room temperature for 20–30 minutes before serving to avoid condensation on the chocolate. Avoid storing near strong-smelling foods—the marshmallow base can pick up odors over time.
Ingredient Substitutions
If you don’t have cherry gelatin, try strawberry or raspberry powder for a similar effect; citrus-flavored gelatin will change the character entirely. For a gluten-free option, choose a certified gluten-free puffed rice cereal—be aware that the classic Rice Krispies formulation in the U.S. contains malt and is not gluten-free. Swap the dark wafers for white chocolate if you want a sweeter finish; temper gently or add a teaspoon of coconut oil to improve flow. For a dairy-free bar, use a plant-based butter and dairy-free marshmallows, and select a vegan chocolate alternative.
Serving Suggestions
Serve squares on a platter with a dusting of edible gold or colorful sprinkles for parties. Pair with vanilla ice cream or a dollop of whipped cream for an indulgent dessert. For a brunch table, arrange alongside fruit skewers and coffee—these bars make a playful sweet bite. Garnish individual squares with a small candied cherry or squeeze of grated dark chocolate for an elegant presentation. They’re also portable and kid-friendly, making them ideal for school events or picnic boxes.
Cultural Background
The original cereal-and-marshmallow bar is a nostalgic American treat born in mid-20th century kitchens as an easy, no-bake confection. Adding flavored gelatin is a mid-century adaptation that restaurants and home cooks used to vary the flavor and color without altering the method. This cherry variation leans on that same tradition—simple, inventive, and reliant on pantry finds. It echoes summer fair treats and classic school bake sale offerings, updated with higher-quality chocolate and subtle flavor layering.
Seasonal Adaptations
In spring and summer, use bright or floral gelatin flavors and top with freeze-dried fruit for freshness. For winter holidays, switch to peppermint gelatin and decorate with crushed candy canes; fall parties suit apple or cinnamon gelatin paired with a milk chocolate drizzle. For Valentine’s Day, keep cherry and add heart-shaped sprinkles. Simple swaps like these let the base technique shine while fitting the occasion.
Meal Prep Tips
Make a double batch and store half in the freezer for quick desserts throughout the month. Assemble the cereal base earlier in the day and top with melted chocolate just before guests arrive to keep the top glossy and freshly set. Use a sharp, warmed knife (dip in hot water and wipe dry) for clean slices—wipe between cuts to avoid dragging chocolate crumbs. For consistent portions, score the chocolate lightly when it becomes tacky, then cut fully once set.
These Cherry Rice Krispie Treats are simple to assemble yet feel special, combining childhood comfort with grown-up flavor. Enjoy them warm from the pan for gooey edges, or perfectly set for neat squares on a dessert plate—either way, they bring smiles and are easy to make your own.
Pro Tips
Use mini marshmallows for faster, more even melting and a smoother texture.
Press the cereal mixture gently—over-pressing makes dense, chewy bars instead of light and airy ones.
Warm your knife under hot water and dry it between cuts for cleaner chocolate edges.
If chocolate seizes while melting, add 1 teaspoon of neutral oil (vegetable or coconut) and stir until smooth.
This nourishing cherry rice krispie treats recipe is sure to be a staple in your kitchen. Enjoy every moist, high protein slice — it is perfect for breakfast or as a wholesome snack any time.
Tags
Cherry Rice Krispie Treats
This Cherry Rice Krispie Treats recipe makes perfectly juicy, tender, and flavorful steak every time! Serve with potatoes and a side salad for an unforgettable dinner in under 30 minutes.
Instructions
Prepare the pan
Butter a 13x9-inch baking dish or line it with parchment paper and lightly butter the paper for easier removal.
Melt butter and marshmallows
In a large saucepan over low heat, melt 6 tablespoons unsalted butter. Add 16 ounces mini marshmallows and stir constantly until completely melted and smooth, about 3–5 minutes—keep heat low to prevent scorching.
Add cherry gelatin
Stir 1 1/2 tablespoons cherry gelatin powder into the melted marshmallow until fully dissolved and the mixture turns uniformly pink.
Fold in cereal
Remove from heat and gently fold in 6 cups Rice Krispies until evenly coated, working quickly so the marshmallow remains pliable.
Press into pan
Transfer mixture to the prepared pan and press evenly using greased wax paper or a buttered spatula; avoid over-compressing to keep bars light.
Melt and spread chocolate
Melt 10 ounces dark chocolate wafers in 20-second microwave bursts or a double boiler until smooth. Spread over the top of the cereal slab and add sprinkles immediately if using.
Set and slice
Allow to set at room temperature for about one hour or refrigerate 20–30 minutes. Remove from pan and cut into 12 squares with a warm, dry knife.
Last Step: Please leave a rating and comment letting us know how you liked this recipe! This helps our business to thrive and continue providing free, high-quality recipes for you.
Nutrition
Did You Make This?
Leave a comment & rating below or tag
@feedcooks on social media!
Categories:
You might also like...
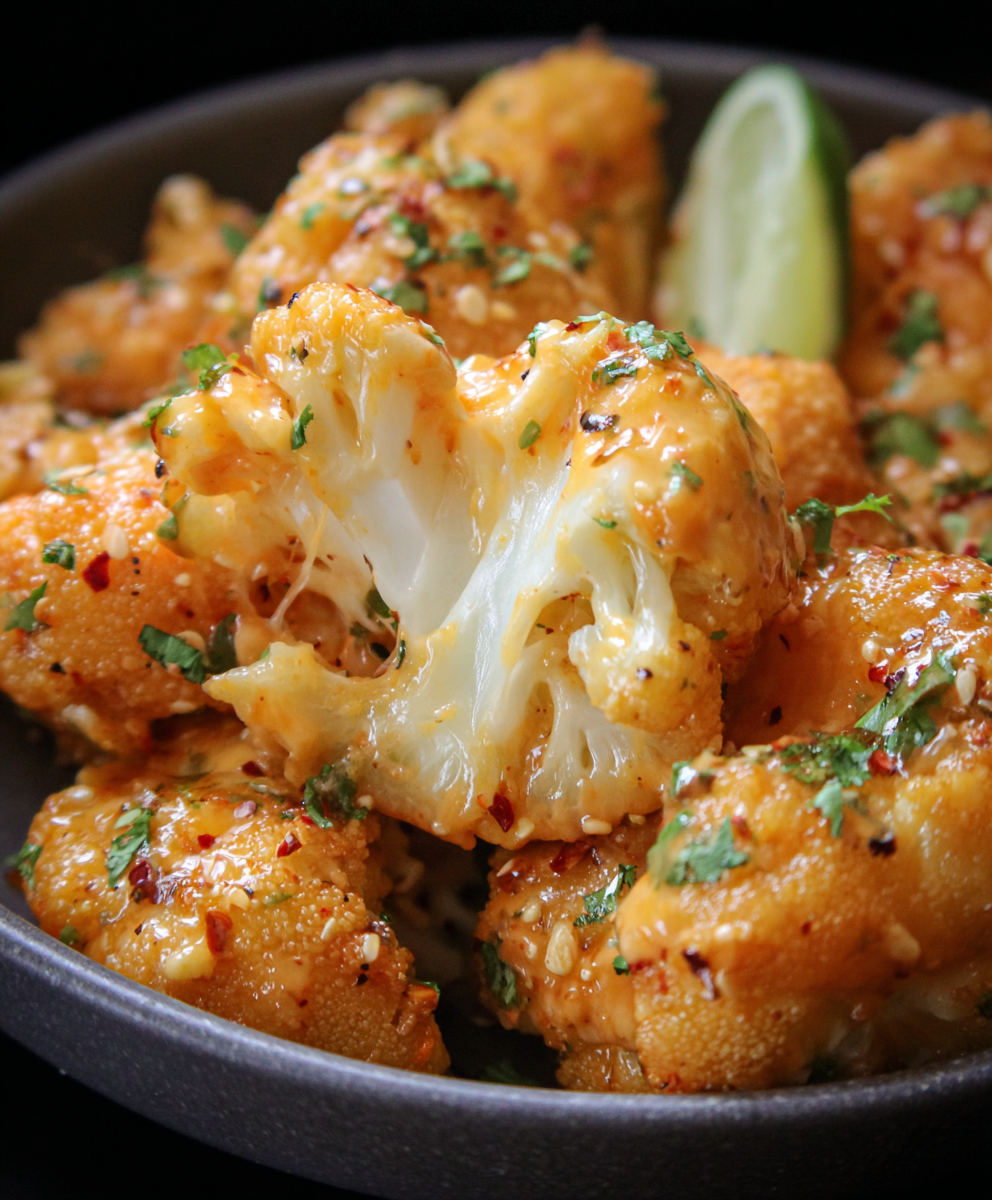
Air Fryer Bang Bang Cauliflower
Crispy air-fried cauliflower tossed in a creamy, sweet-spicy bang bang sauce. A crowd-pleasing appetizer or vegetarian main that's quick, crunchy, and addictive.

Air Fryer Buffalo Cauliflower
Crispy, tangy buffalo cauliflower made in the air fryer for a fast, crowd-pleasing appetizer or snack ready in under 30 minutes.

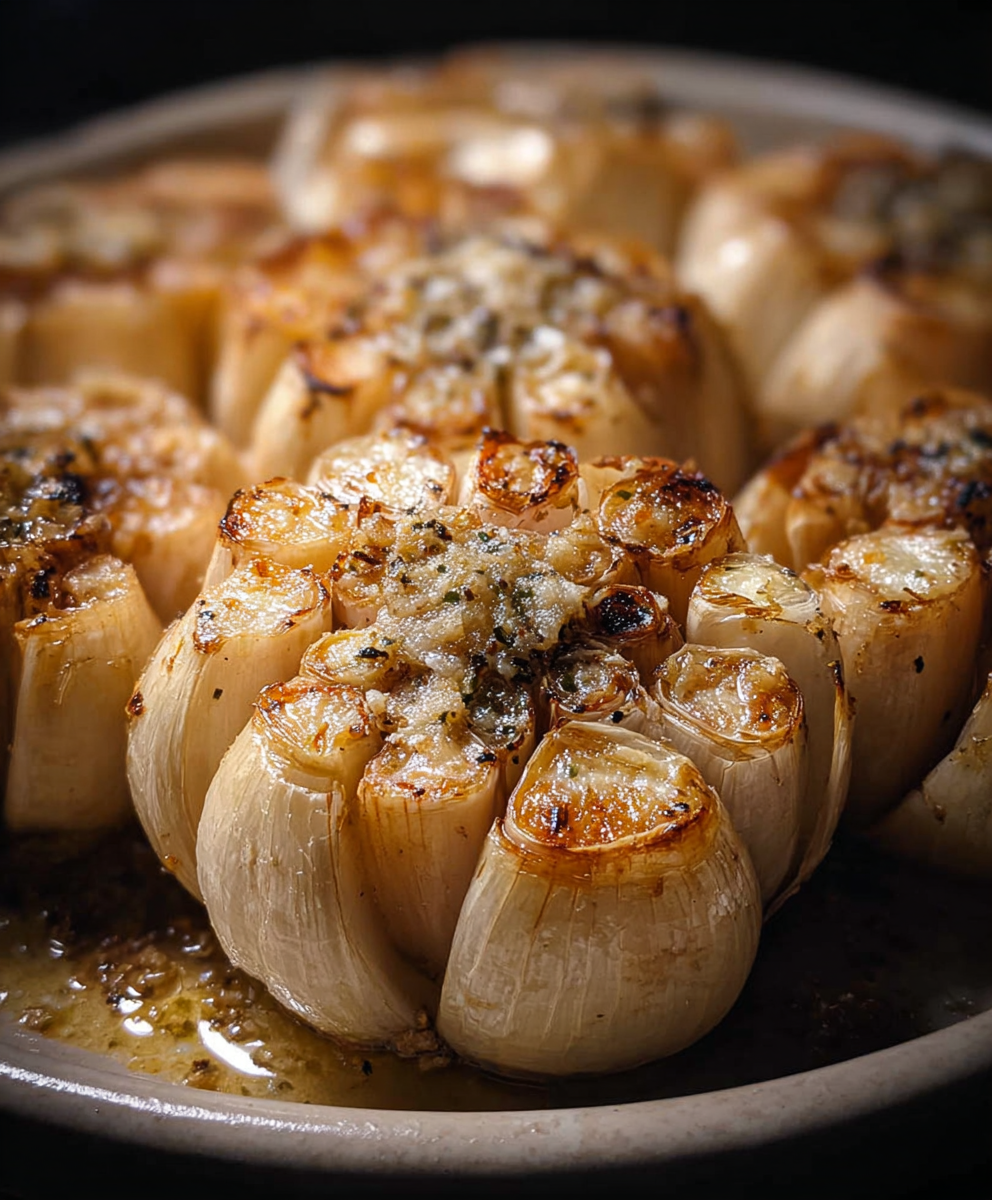
Air Fryer Honey Butter Garlic Chicken
Crispy air-fried chicken pieces tossed in a glossy honey-butter garlic glaze — a 20-minute weeknight favorite that's sweet, savory, and irresistibly sticky.
Did You Make This?
Leave a comment & rating below or tag @feedcooks on social media!
Rate This Recipe
Share This Recipe
Enjoyed this recipe? Share it with friends and family, and don't forget to leave a review!
Comments (1)
This recipe looks amazing! Can't wait to try it.
Comments are stored locally in your browser. Server comments are displayed alongside your local comments.
Hi, I'm Lena!
What's Popular
Get My 30-Minute Meals email series!
Quick and easy dinner ideas delivered to your inbox.